Boshiamy | 嘸蝦米

Manjaro XFCE 23.0 與嘸蝦米

前言

Manjaro 走到 23.0 這個版本,我想在這個版本,再做一次嘸蝦米輸入法安裝使用的紀錄。manjaroXfce23.0AndBoshiamyEp (17)

安裝過程

  1. 直接先啟動 Terminal (Ctrl+Alt+T)。
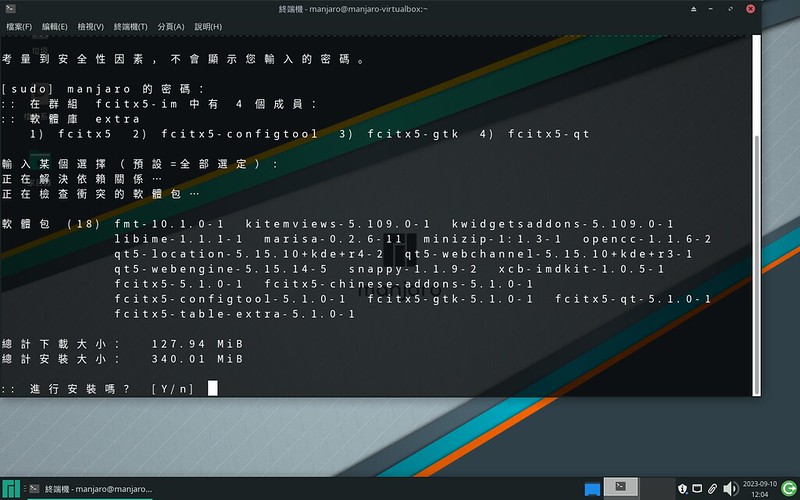
  2. 在 Terminal,打以下的指令:

     sudo pacman -S fcitx5 fcitx5-im fcitx5-chinese-addons fcitx5-configtool fcitx5-table-extra
     clear //這個指令無關設定,純綷是我想清理一下 Terminal 的畫面
    

    manjaroXfce23.0AndBoshiamyEp (01)
    manjaroXfce23.0AndBoshiamyEp (02)
    manjaroXfce23.0AndBoshiamyEp (03)
    manjaroXfce23.0AndBoshiamyEp (04)
    manjaroXfce23.0AndBoshiamyEp (05)
    manjaroXfce23.0AndBoshiamyEp (06)

  3. 啟動 nano 編輯。

     sudo nano /etc/environment
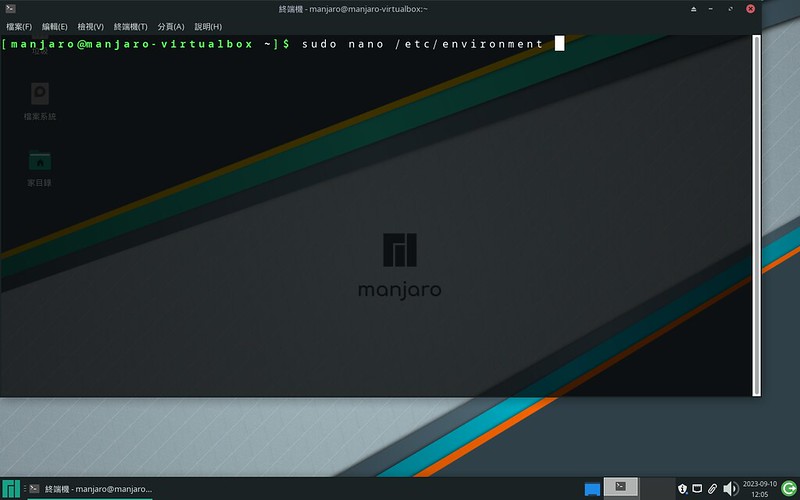
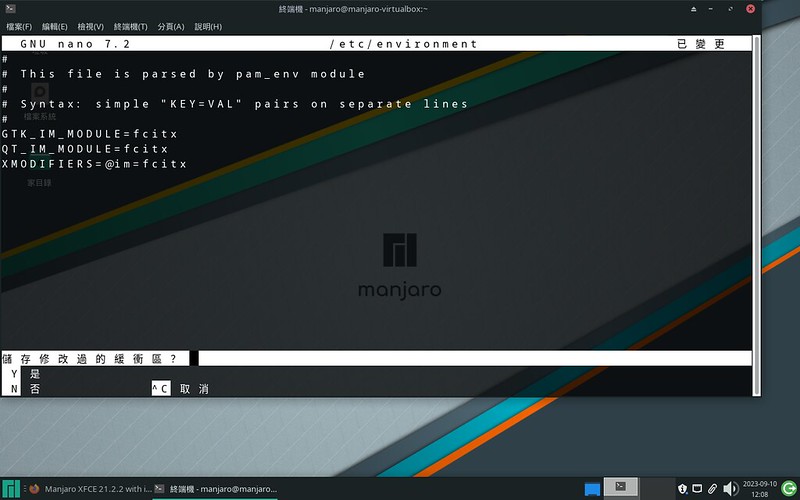
    

    manjaroXfce23.0AndBoshiamyEp (07)

  4. 寫入以下內容 (「複製貼上」是王道)

     GTK_IM_MODULE=fcitx
     QT_IM_MODULE=fcitx
     XMODIFIERS=@im=fcitx
    

    manjaroXfce23.0AndBoshiamyEp (08)
    manjaroXfce23.0AndBoshiamyEp (09)
    manjaroXfce23.0AndBoshiamyEp (10)
    manjaroXfce23.0AndBoshiamyEp (11)

  5. 重開機。

     reboot
    

    manjaroXfce23.0AndBoshiamyEp (12)

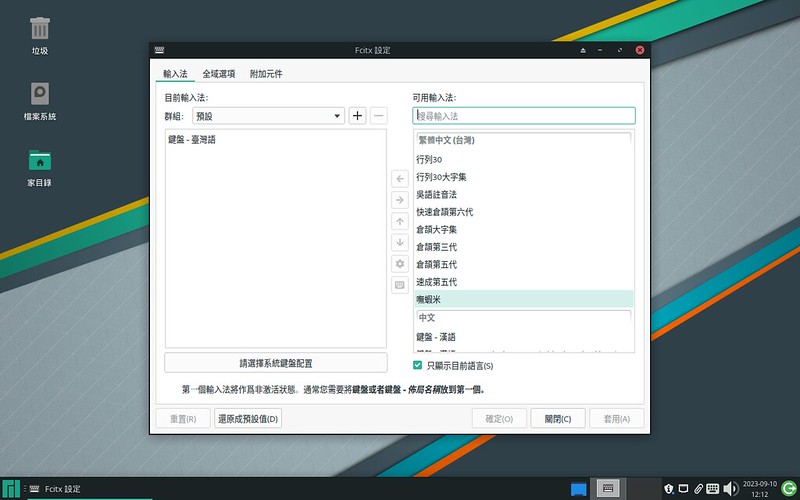
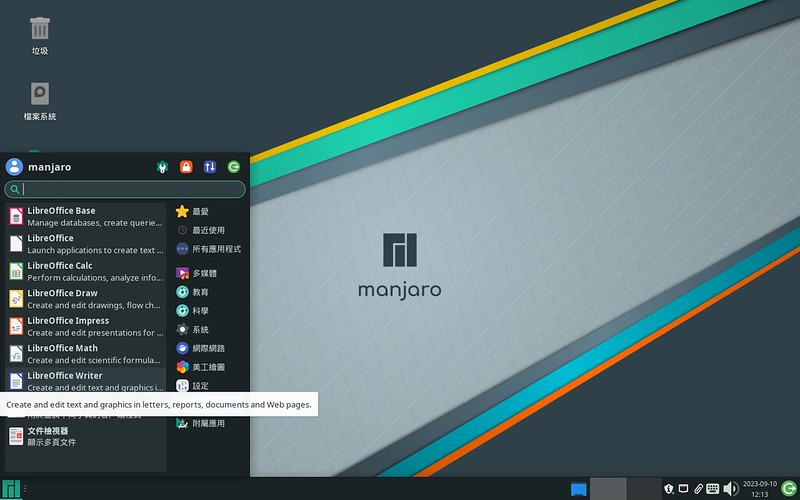
  6. 重開機之後,右下角會出現一個鍵盤圖示,點右鍵進入「設定」。manjaroXfce23.0AndBoshiamyEp (13)

  7. 基本上,進入設定視窗就可以看到「嘸蝦米」。如果受到解析度的影響沒有馬上看到,也不用慌,先找到「可用輸入法:」下的搜尋框,打關鍵字「boshi」把嘸蝦米找出來並新增。
    manjaroXfce23.0AndBoshiamyEp (14)
    manjaroXfce23.0AndBoshiamyEp (15)

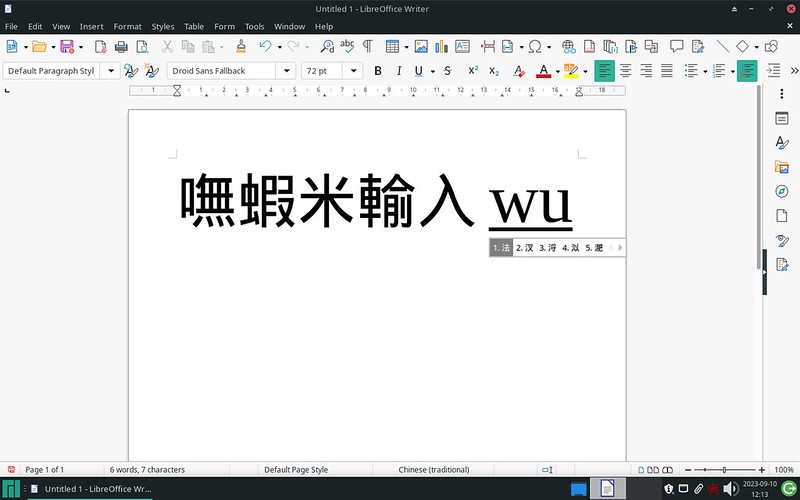
  8. 開個 LibreOffice Writer 來試試。manjaroXfce23.0AndBoshiamyEp (16)

  9. Ctrl+Space,就可以切換至嘸蝦米輸入法。manjaroXfce23.0AndBoshiamyEp (18)

後記

  1. 本次使用的 ISO 檔版本是 manjaro-xfce-23.0-230903-linux65.iso。

  2. 就目前而言,Arch Linux 及衍生發行版,拿 Fcitx5 來服用可以說簡單輕鬆,使用起來也順順的。

  3. Manjaro 23.0 Uranos released – Announcements / Releases – Manjaro Linux Forum

Leave a Reply

發佈留言必須填寫的電子郵件地址不會公開。 必填欄位標示為 *